How to install an acrylic court
A few steps of how to install an acrylic court on asphalt subbase with Supersoft WS System.
A few steps will follow to have a general idea of how to install an acrylic court on asphalt outdoor with Supersoft WS System.
The court was done in 2022 during a few days of dry and nice weather. The asphalt subbase was brand new and there was no need of any primer to improve the bonging with the acrylic resins.
Asphalt subbase
Starting with laying down the asphalt subbase with a selected granulometry and aggregates (contact Casali technical service for additional information regarding the asphalt specifications).
Note: we suggest to wait for the asphalt to cure at least 28 days after casting it.
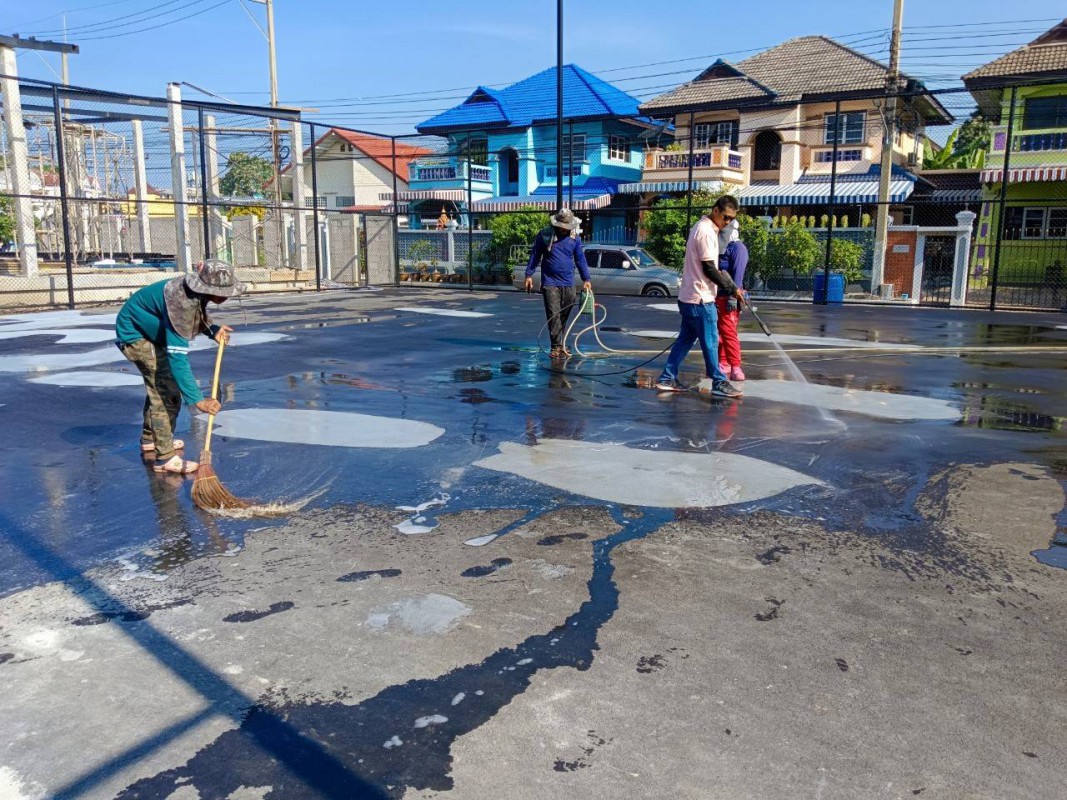
It is recommended to clean the asphalt before the application of the acrylic court, such as Supersoft WS System, to remove any trace of dirt or oil.
Patch the ponding areas same as seen in the photo above.
Start mixing the acrylic resins
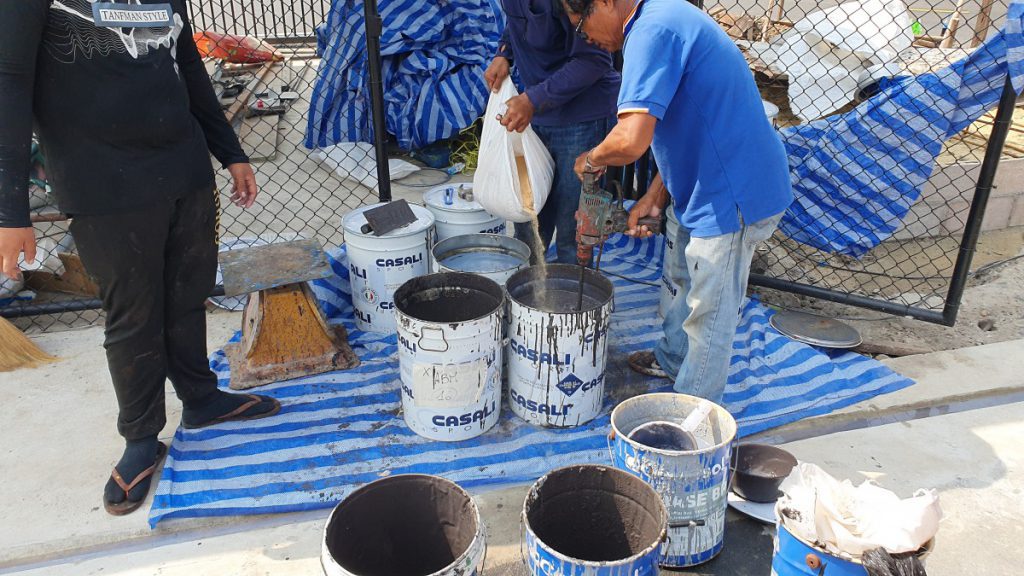
The first main step to see how to install an acrylic court is properly mixing the acrylic resins.
The first layer is the Softbase WS, a bituminous coumpound used as a resurfacer.
The Softbase WS needs to be mixed with quartz sand as follow when applied on asphalt subbase:
- Softbase WS => 0.4kg/sqm
- Quartz sand (size 0.1-0.3mm) => 0.6kg/sqm
- Water => about 20% to 30% of the total mixture, so about 0.2kg/sqm to 0.3kg/sqm
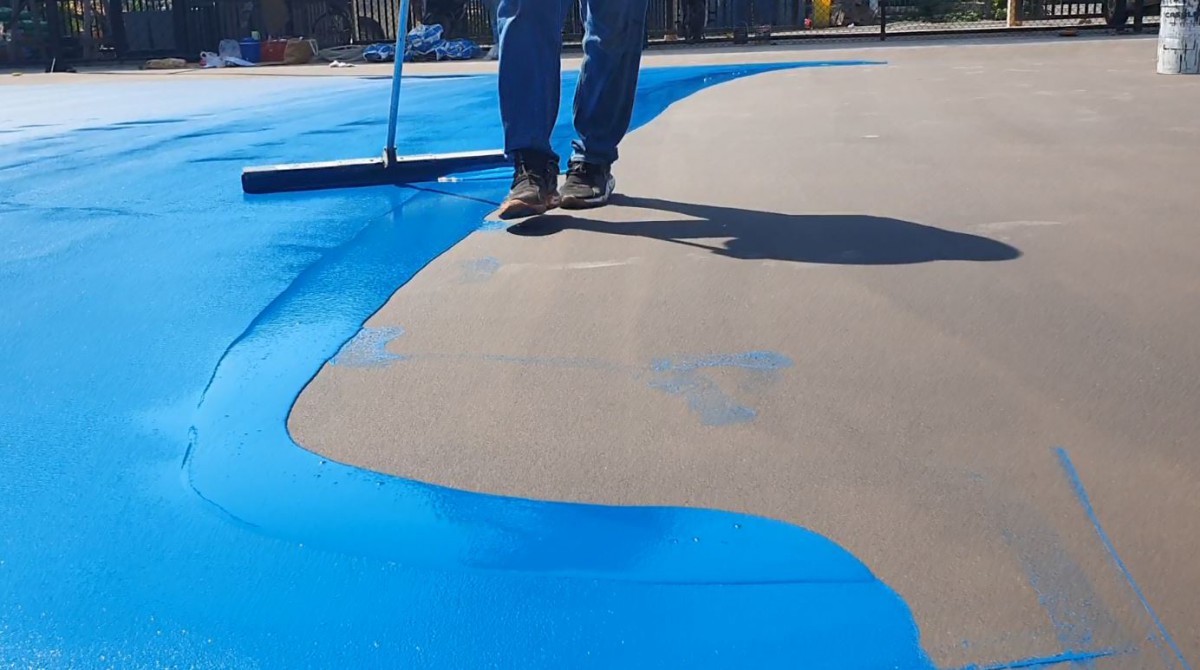
Apply the layer of Softbase WS
Apply one layer only of Softbase WS mixed with sand as per above paragraph.
The Softbase WS will fill up the porosity of the asphalt subbase.
Apply the first layers (out of 3) of Supersoft WS Blue 303
Mix the Supersoft WS with quartz sand (similar procedure as Softbase WS) as follow:
- Supersoft WS => 0.25kg/sqm
- Quartz sand (size 0.1-0.3mm) => 0.25kg/sqm
- Water => about 20% to 30% of the total mixture, so 0.1kg/sqm to 0.15kg/sqm
NOTE: the above quantity is related to 1 layer. The Supersoft WS system accounts 3 layers to complete the system, hence the total quantity needed will be tripled.
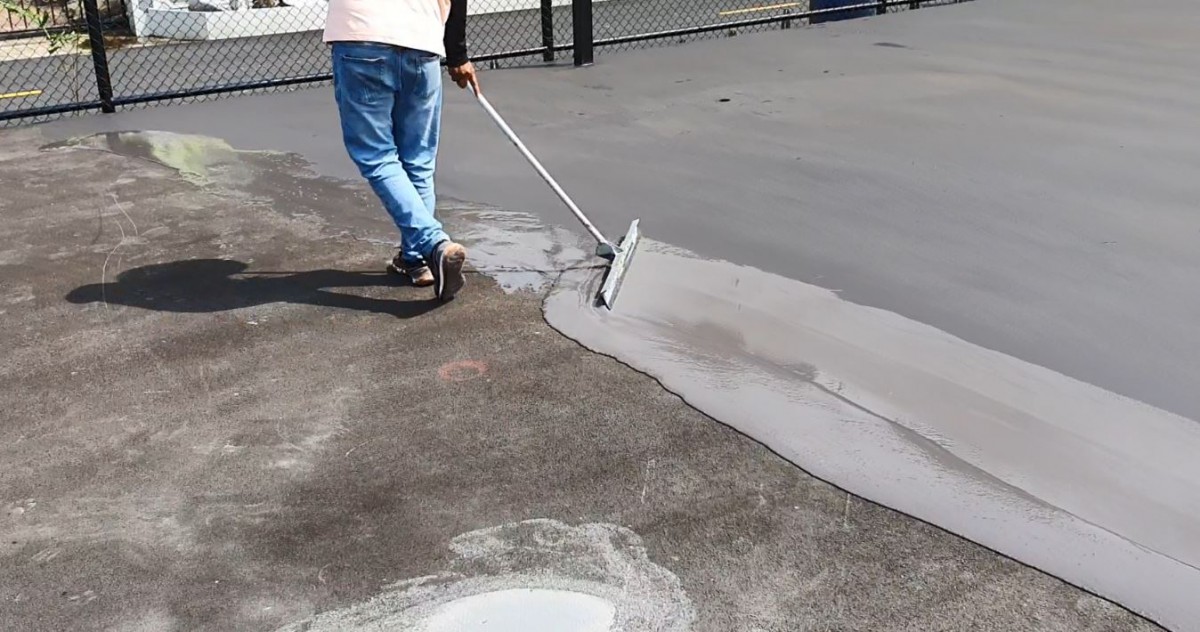
A rubber squeegee was used to apply the Supersoft WS resin.
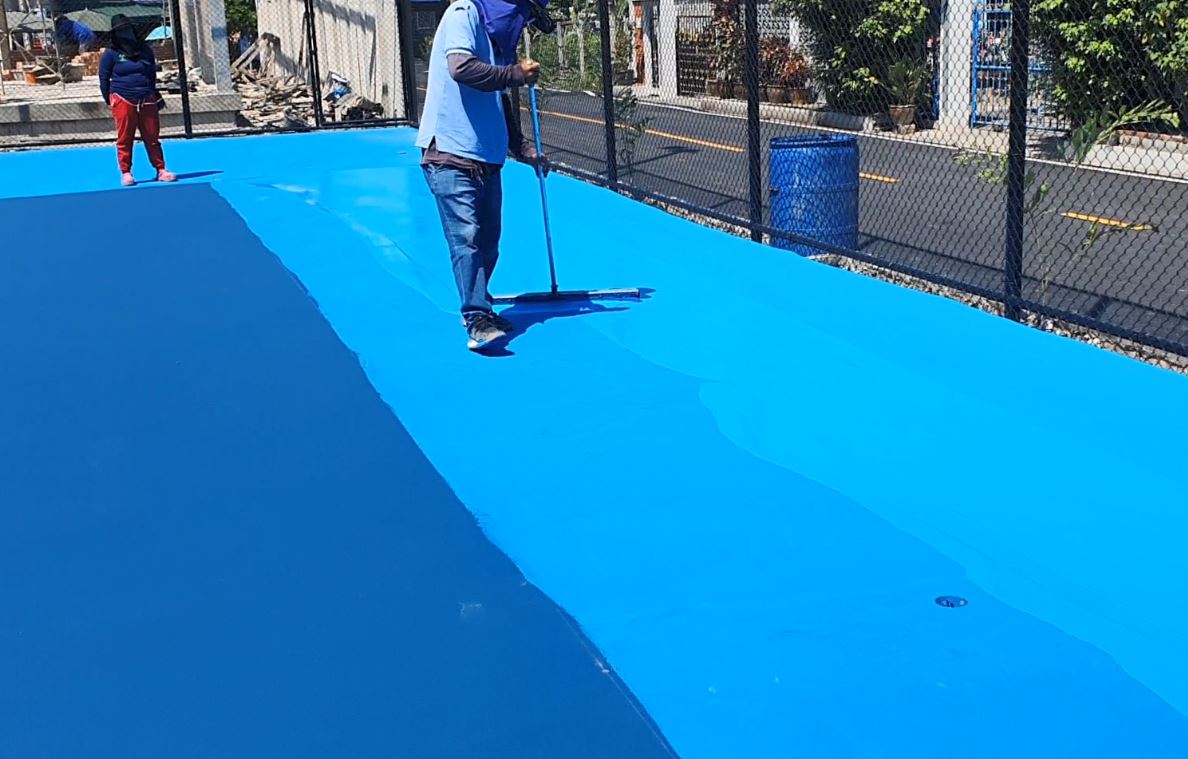
Apply the first and the second layer of Supersoft WS Light Blue 302
The installation proceed with the application of the second color Casali Light Blue 302 (check the related page HERE to see the available acrylic colors).
Each and every layer of Supersoft WS will have the same consumption indicated above.
NOTE: the full system has 3 layers, so, one more layer of Supersoft WS needs to be applied.
Apply the third and final layer of the Supersoft WS in both color combination
Apply the third layer of SupersoftWS and draw the marking line with Casali special marking line paint PITLINEA.
Finished job
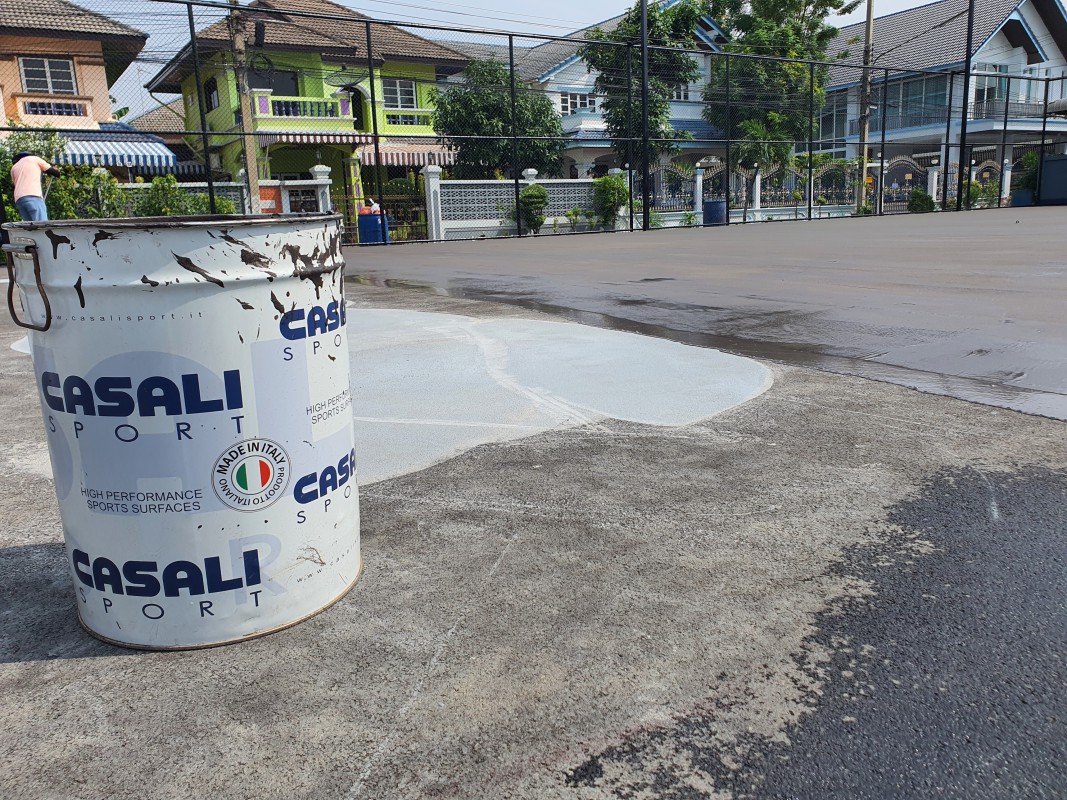
Let the Supersoft WS system cure for a couple of days and you are ready to go!
See the related reference HERE in our Gallery section, or go directly to the YOUTUBE videoclip.

